I had promised my friend Vinny that I'd make this and post it and then it just took forever to get it done

On Saturday, I was all enthused to cook / bake, make something really nice for a nice relaxed lunch. My son had school for about 2 hours for the flag hoisting on Republic day. TH had a few meetings to get done with.
Music blasting from my little radio in the kitchen, nice cold breeze with the sun shining thru it and a whole lot of ingredients at home - my favourite way to get started in the kitchen...
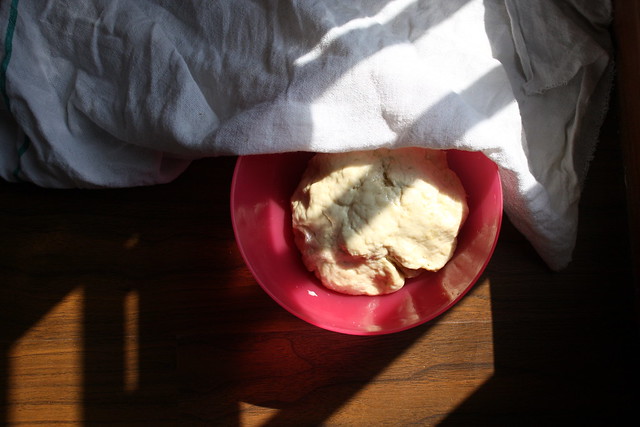
Pizza dough set out to rise
I started with the pizza dough and then set it out in my balcony that had the sun streaking in. I had one whole hour on hand now. So dug out my fridge and found this pack of feta cheese, a bunch of basil leave and some ripe red tomatoes.
Feta is one expensive cheese here and so I keep planning what I'll make with it and try to find an occasion worthy of it, today just seemed like the day for it. Made a tomato and feta cheese salad with a basil vinaigrette.
In the pantry I found some sweet potatoes waiting to be used. Added some rosemary and garlic seasoning that my cousin had brought for me. Baked that - low on fat, high on taste.
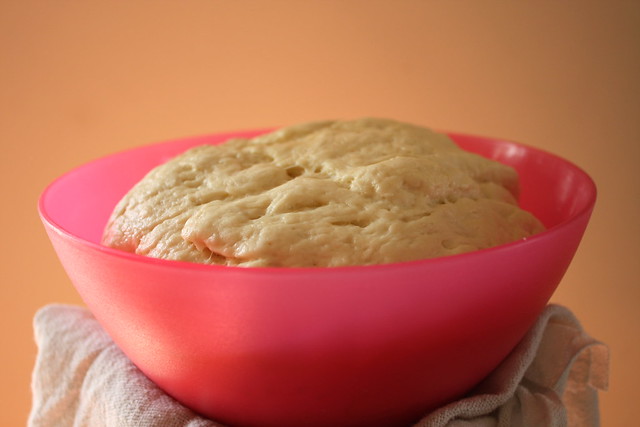
Pizza dough after the rise (1 hour)
By this time my dough had double in size. Punched it down, spread this tomato basil sauce on it, sprinkled some cheese and it was all set to get baked...
I had once tried this roasted eggplant pizza in a lovely little place in the Harvard Square. My cousins from Boston took me there and I was really sceptical about eggplant on a pizza, but the taste was mind-blowing.
Thought of re-creating that for TH and me. A simple tomato sauce and cheese pizza was perfect for my son.
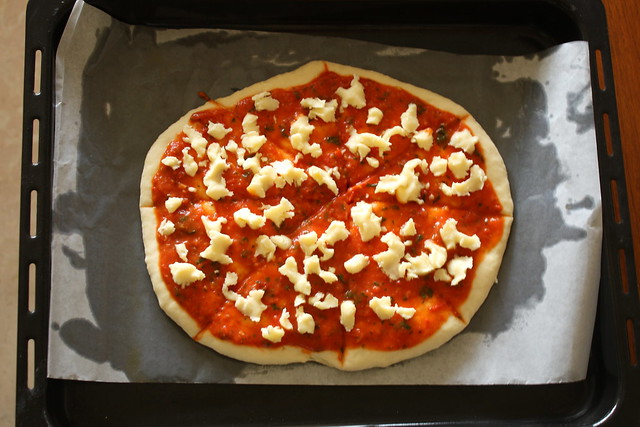
With the toppings and ready to bake
20 mins later, my son was gobbling it down - he said it was better than Dominos and Pizza Hut. And he left just two slices from his whole pizza ! Yaaay !

Made the eggplant pizzas with some crumbled feta cheese and basil, which turned out really really good. Topped it with piri piri sauce for that extra zing. Perfect weekend.
Making pizza at home is really simple, you can choose your toppings and have it as fresh as it gets. Just get yourself the right yeast and get started. Go.

Roasted eggplant, tomato and feta on my pizza
Homemade pizza dough / Tomato and cheese pizza / Roasted eggplant and feta pizza
What you need
Basic pizza dough
(Makes 3 pizzas)
3 cups maida / flour
1 1/4 tsp instant yeast or 1 1/2 tsp active dry yeast (I use gloripan or eagle instant yeast)
1 cup water + 2 tbsps
1 tsp sugar
1/4 tsp salt
2 tbsp olive oil + 1 tsp more for greasing
Topping
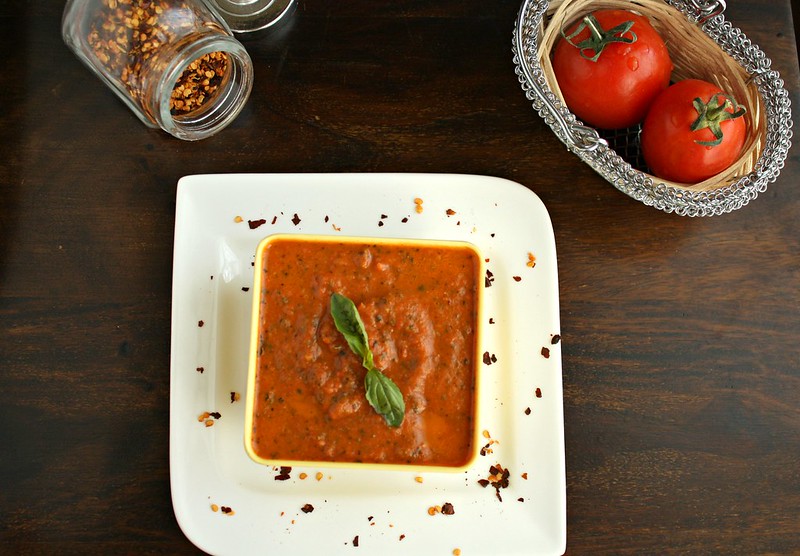
Tomato basil sauce
mozzarella
1 large eggplant
2 large tomatoes
a few basil leaves
1/4 cup crumbled feta cheese
What you do with it -
Warm the water, it should not be too hot or lukewarm.
Pour the water in a large bowl and sprinkle the yeast over it, along with the sugar. If using the active dried yeast, the water should froth up within 5 mins or so
Add the flour to it, along with the salt and knead it well
It will be slightly sticky, add the olive oil to the dough and a little on your fingers and knead well. (Its ok if its still a little sticky)
Grease a bowl with some olive oil and then place this ball of dough in it
Cover with a moist thin cloth or cling wrap and keep it in a warm place
It should take about 1 hour to rise and double in size. It might take longer if its not too warm
Once its risen, punch it down and then divide into three balls
Line a baking tray with greased baking paper or cornmeal
Pre heat the oven at about 200 C
On a floured surface, roll out the dough using a rolling pin or simply stretch it with your hands to get the shape you want. (It doesn't have to be round)
Sprinkle a little olive oil over the dough and then add the tomato-basil sauce
Top it with cheese (mozzarella) and bake it for about 15 mins till the crust turns slightly brown and the cheese is all melted
For the roasted eggplant pizza,
Cut the eggplant into slices that are not too thick or thin
Pan fry or roast in an oven with a little olive oil
Cut the tomato into thick slices
Crumble the feta cheese
Roll out the dough slightly thin and then smear some olive oil over it
Add the tomato-basil sauce and then place the roasted eggplant slices, top it with the tomato slice and sprinkle the crumbled feta cheese some basil leaves over it
Sprinkle a little mozzarella also and bake at 200 C (or slightly lower, depending on your oven) for 12 - 15 mins
To spice it up a bit, I added a dash of piri-piri sauce over it